Maple Syrup Season, Part III
The final step in the syrup making process involves a finish boil of the sap we transferred from the evaporator into the pots. We complete this process in the house on our kitchen stove top. Check out the Part I http://bonaventuravineyards.com/?p=761 and Part II http://bonaventuravineyards.com/?p=844 blog posts to read about the initial steps that brought us to this point.
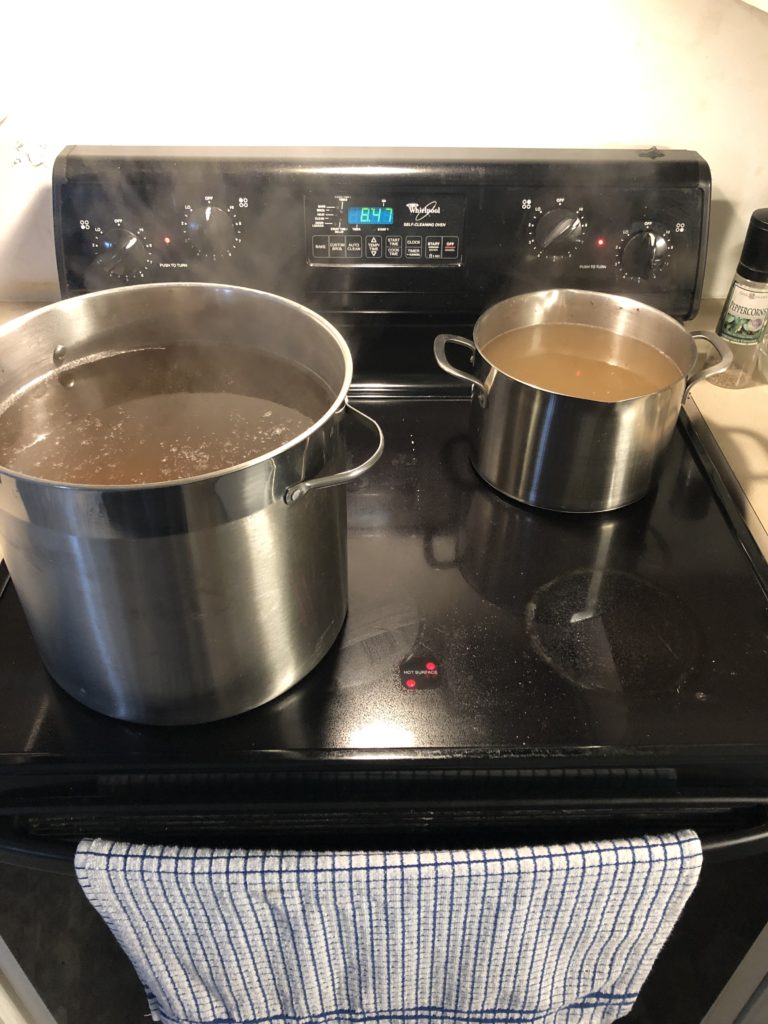
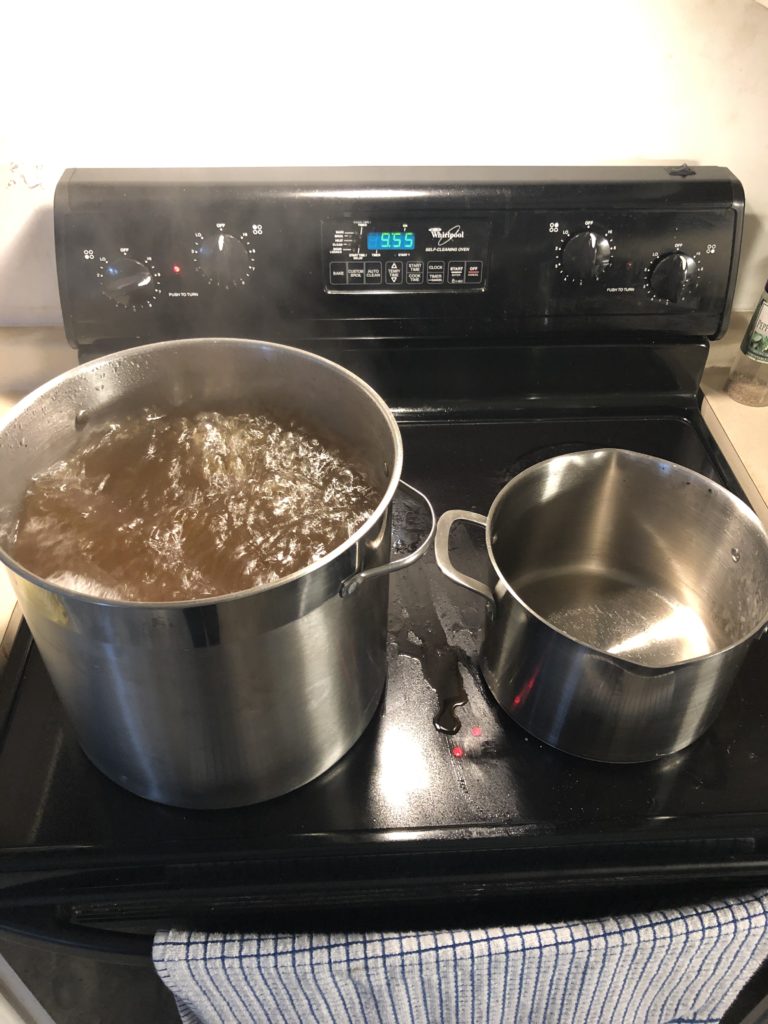
The goal is a rolling boil, just like with the evaporator. When we have multiple pots, we boil them both at the same time, then as the level drops in each pot, we transfer what remains in the smaller pot into the larger one.
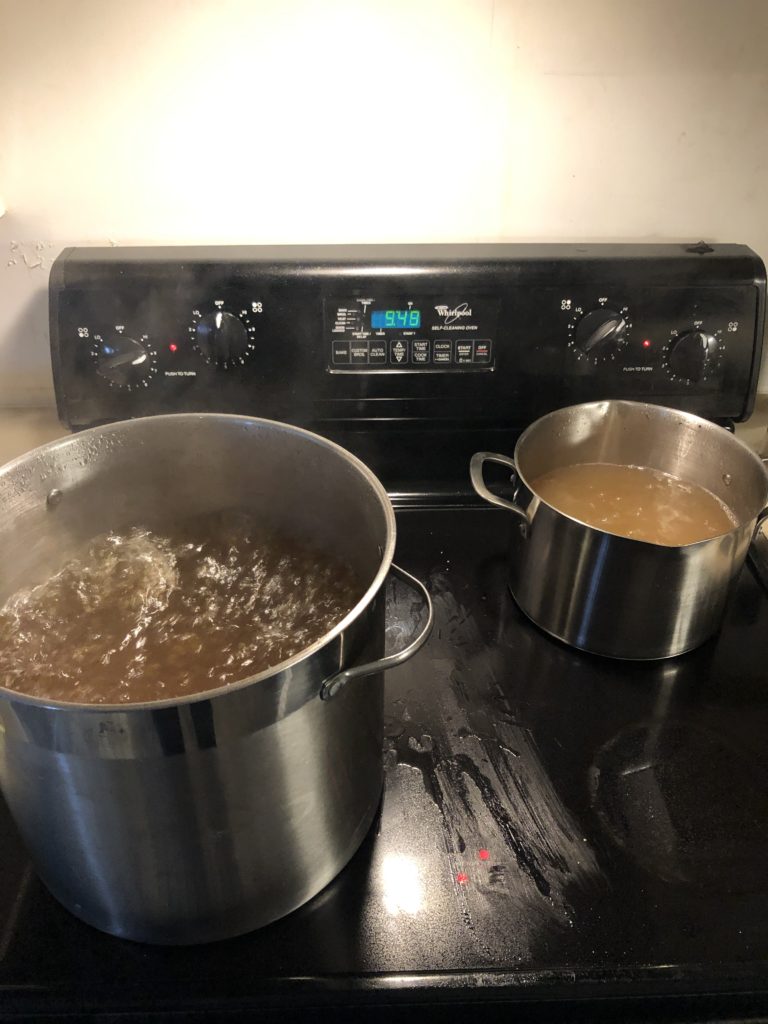
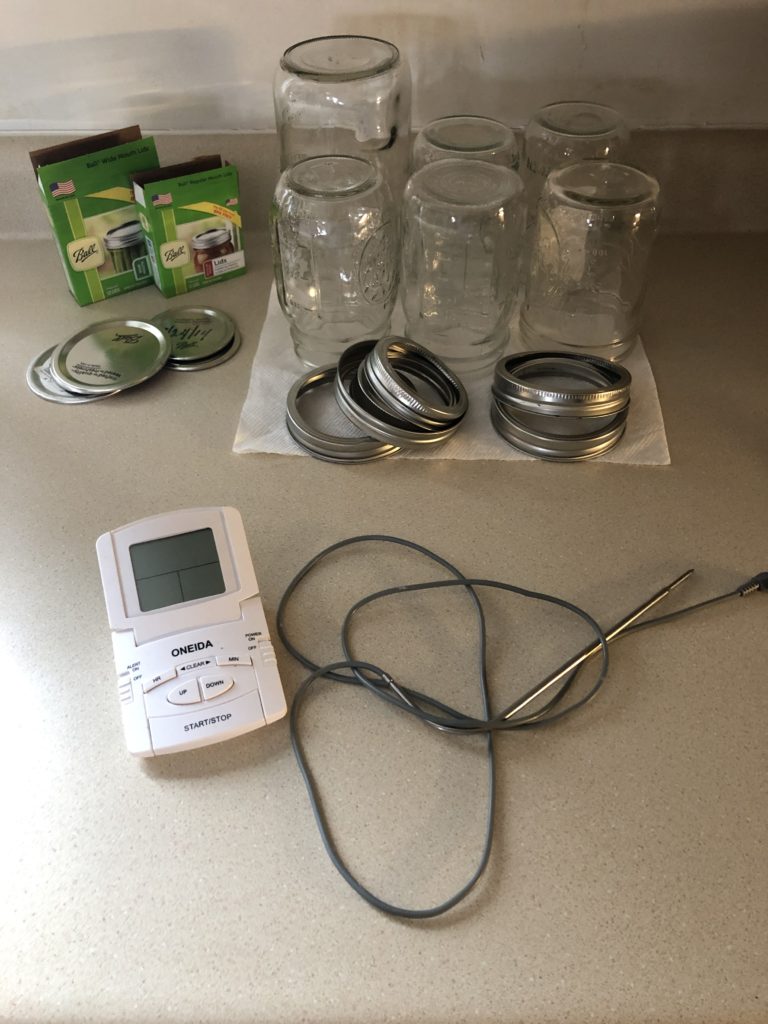
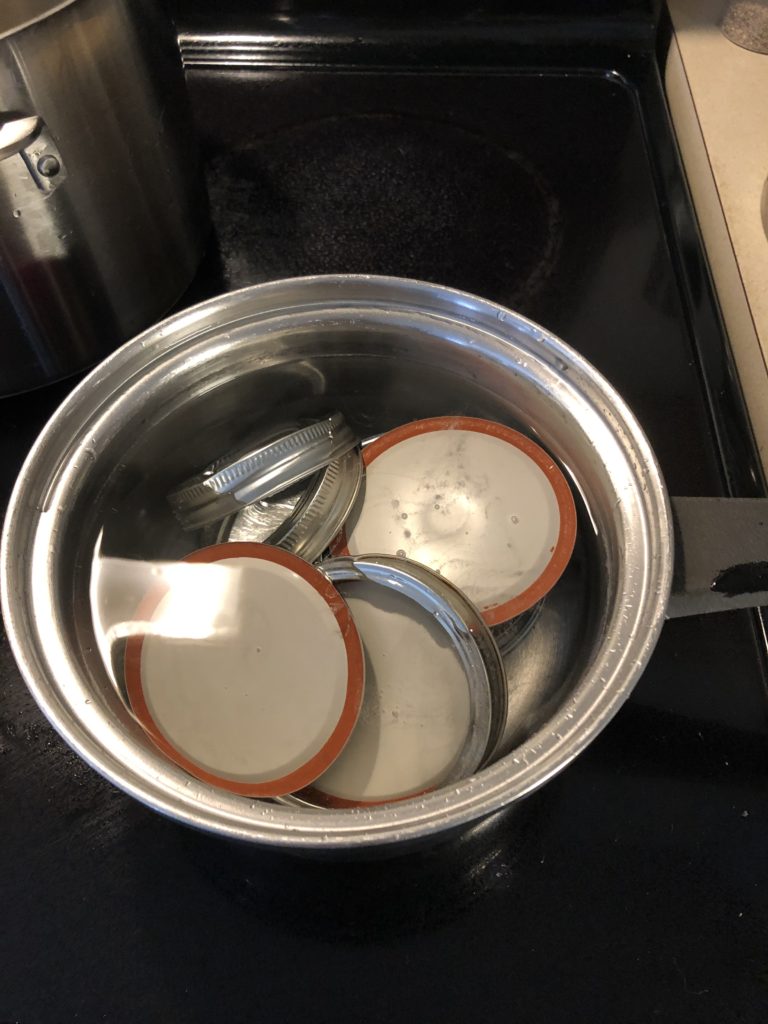
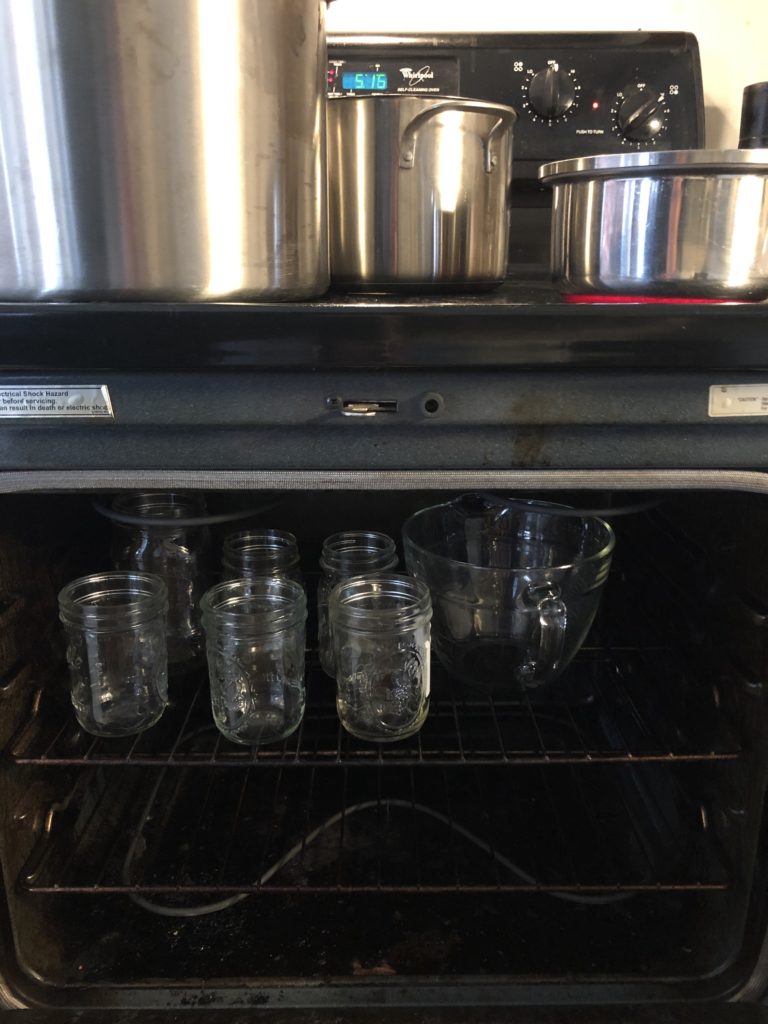
While the sap is boiling we gather the other supplies we will need, glass jars and sealing lids, digital thermometer, strainers, towels, etc. The jars we run through the dishwasher to sterilize and then let thoroughly dry (this was done the day before). We boil the new sealing lids to sterilize those. When we are near the end, we place the jars in the oven just to warm them up to receive the boiling syrup (this is just a precaution to help prevent the glass from cracking or breaking, a tip we learned from our neighbors).
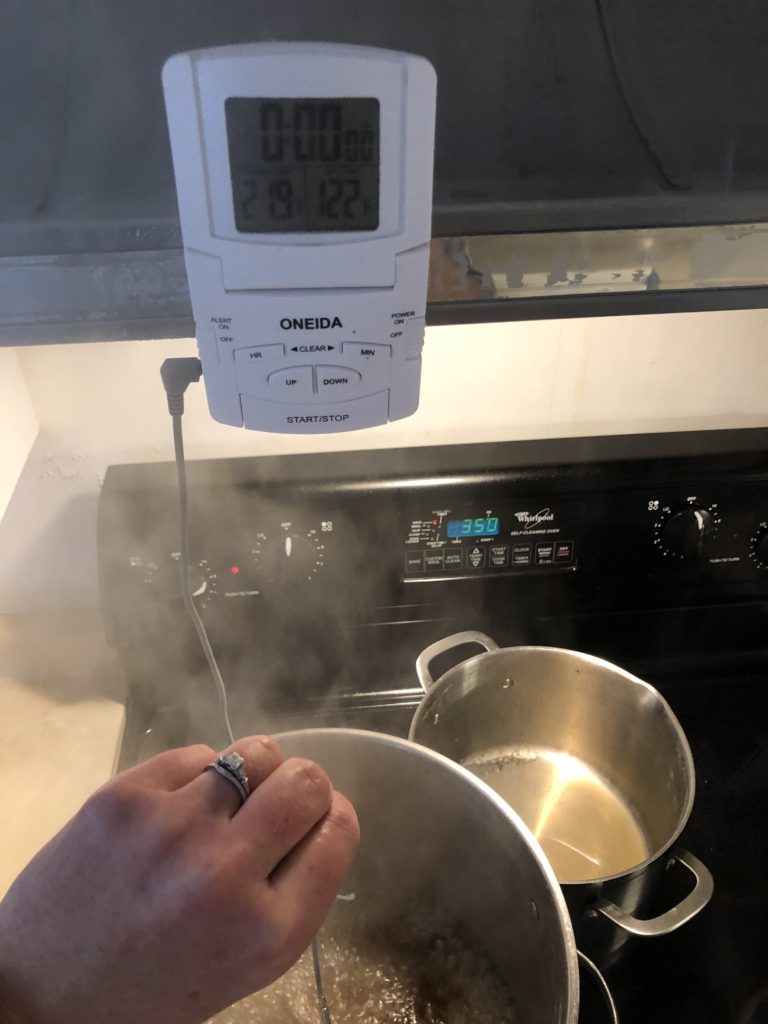
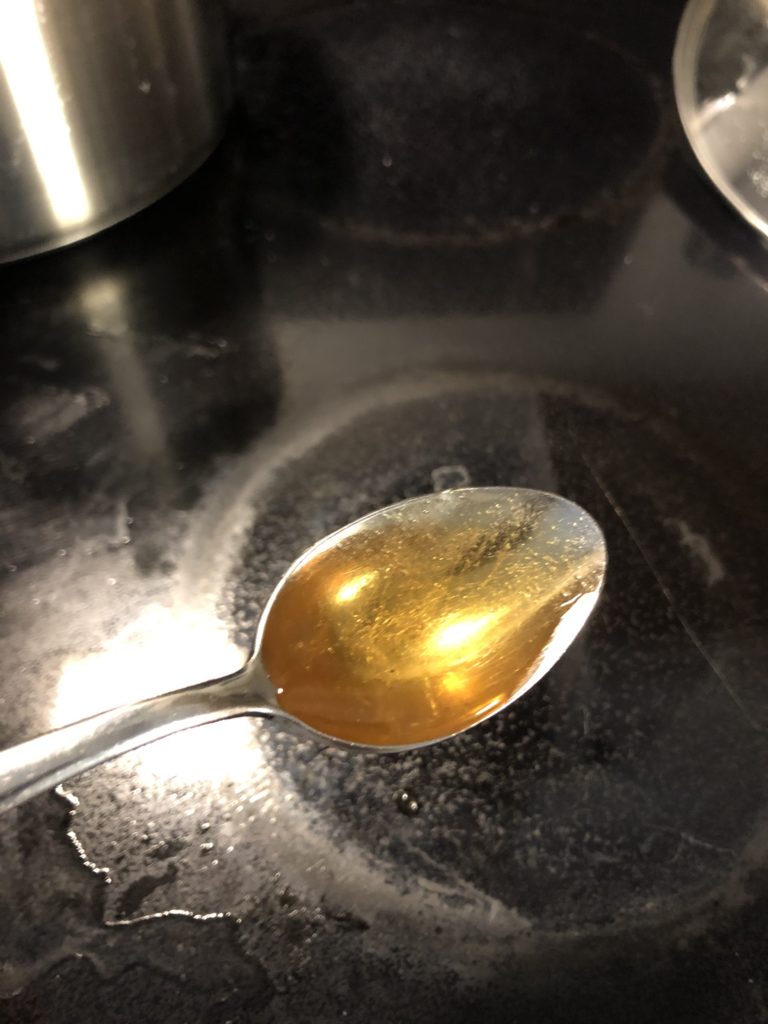
Once the sap reaches a temperature of 219 degrees Fahrenheit, it is done and time to transfer to the jars. Syrup boils at 7.1 degrees higher than water does, for our location this is the 219 degrees. We use a digital thermometer, again a tip from our neighbors, we bought a candy style one the first year and it was too hard to read the temperature, it would fog up. The digital one works great, as pictured below. At this point, you can also measure the sugar level or the “brix” using a hydrotherm or a refractometer, however we have chosen not to do this. We do sometimes experience the syrup crystallizing after it has been bottled, meaning we boiled it a bit too long – which could be avoided if we measured the “brix”. Maple syrup should be between 66.5%-67.5% sugar.
We transfer the syrup in to a large glass measuring bowl as it is easier to then pour it into the jars. We run the syrup through a strainer with a cloth to remove any impurities and then through another funnel with a strainer insert as it is transferred in the jars to further remove any sediment, etc. Some people strain before they boil, we have never tried that but may look to in the future to see if there is any difference in the finished product.

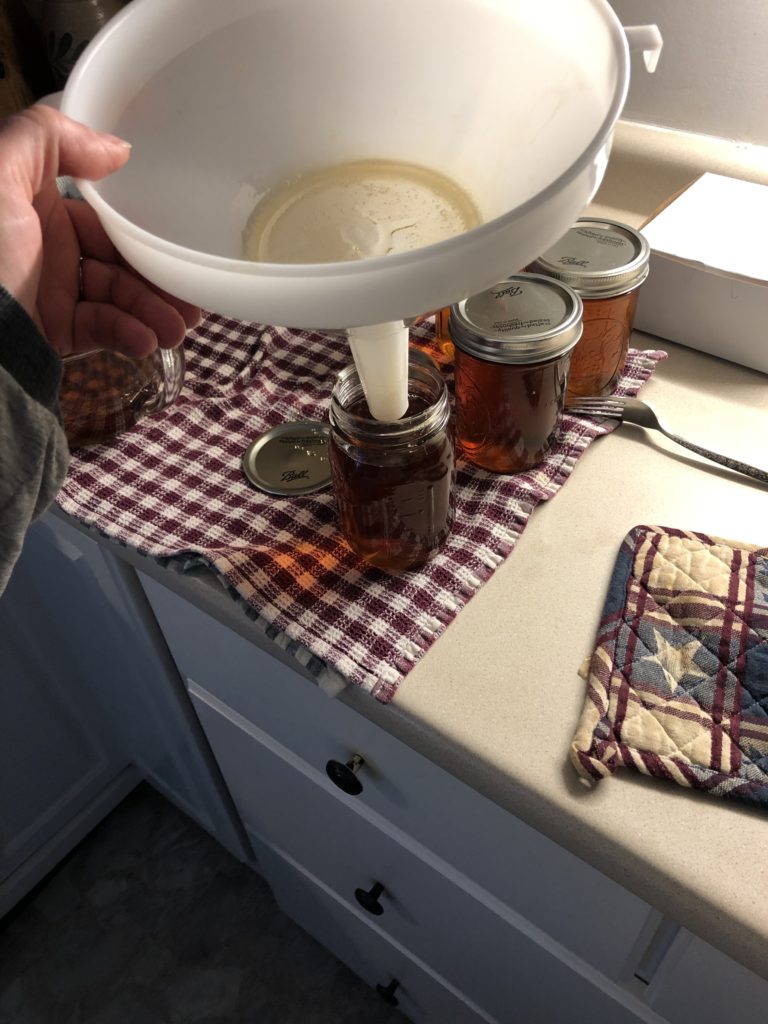
As the jars are filled, we place the sterilized lids on, making sure the lid is tight and then we invert the jars and return to right side up to help them seal. Then we leave them on the counter and wait to hear the popping sound the lids make when they are fully sealed; sounds silly but it is fun to listen to!
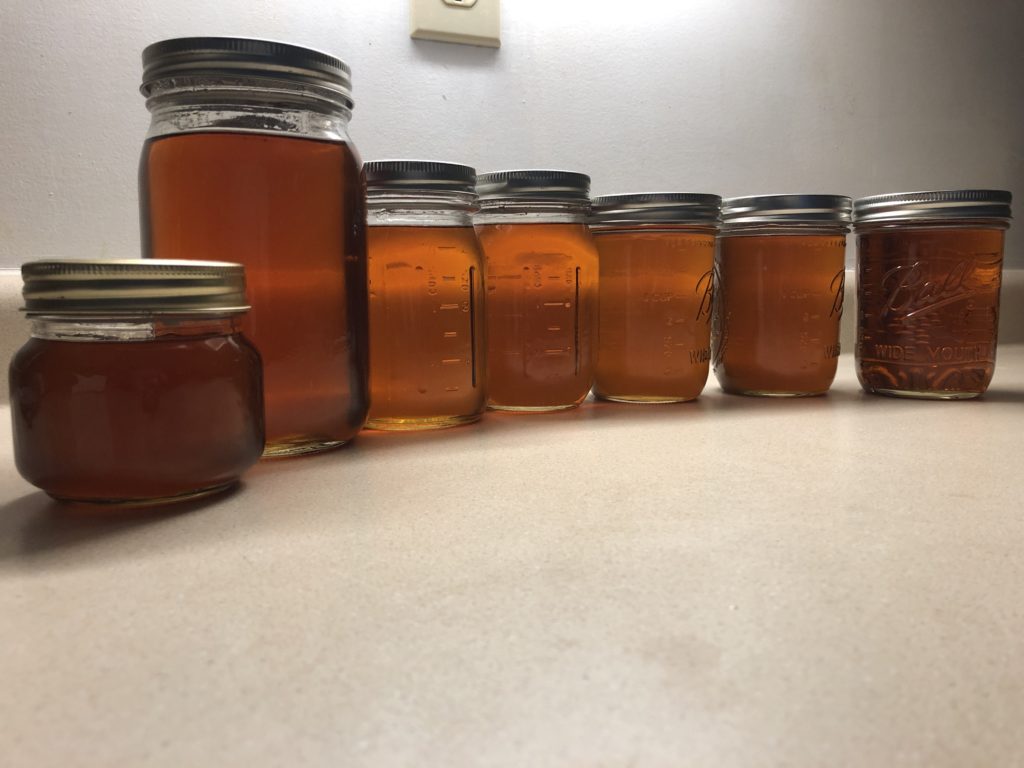
The finishing process for this batch took about 4 hours to complete. Once the syrup is safely in the sealed jars, time to clean up and of course sample anything remaining!
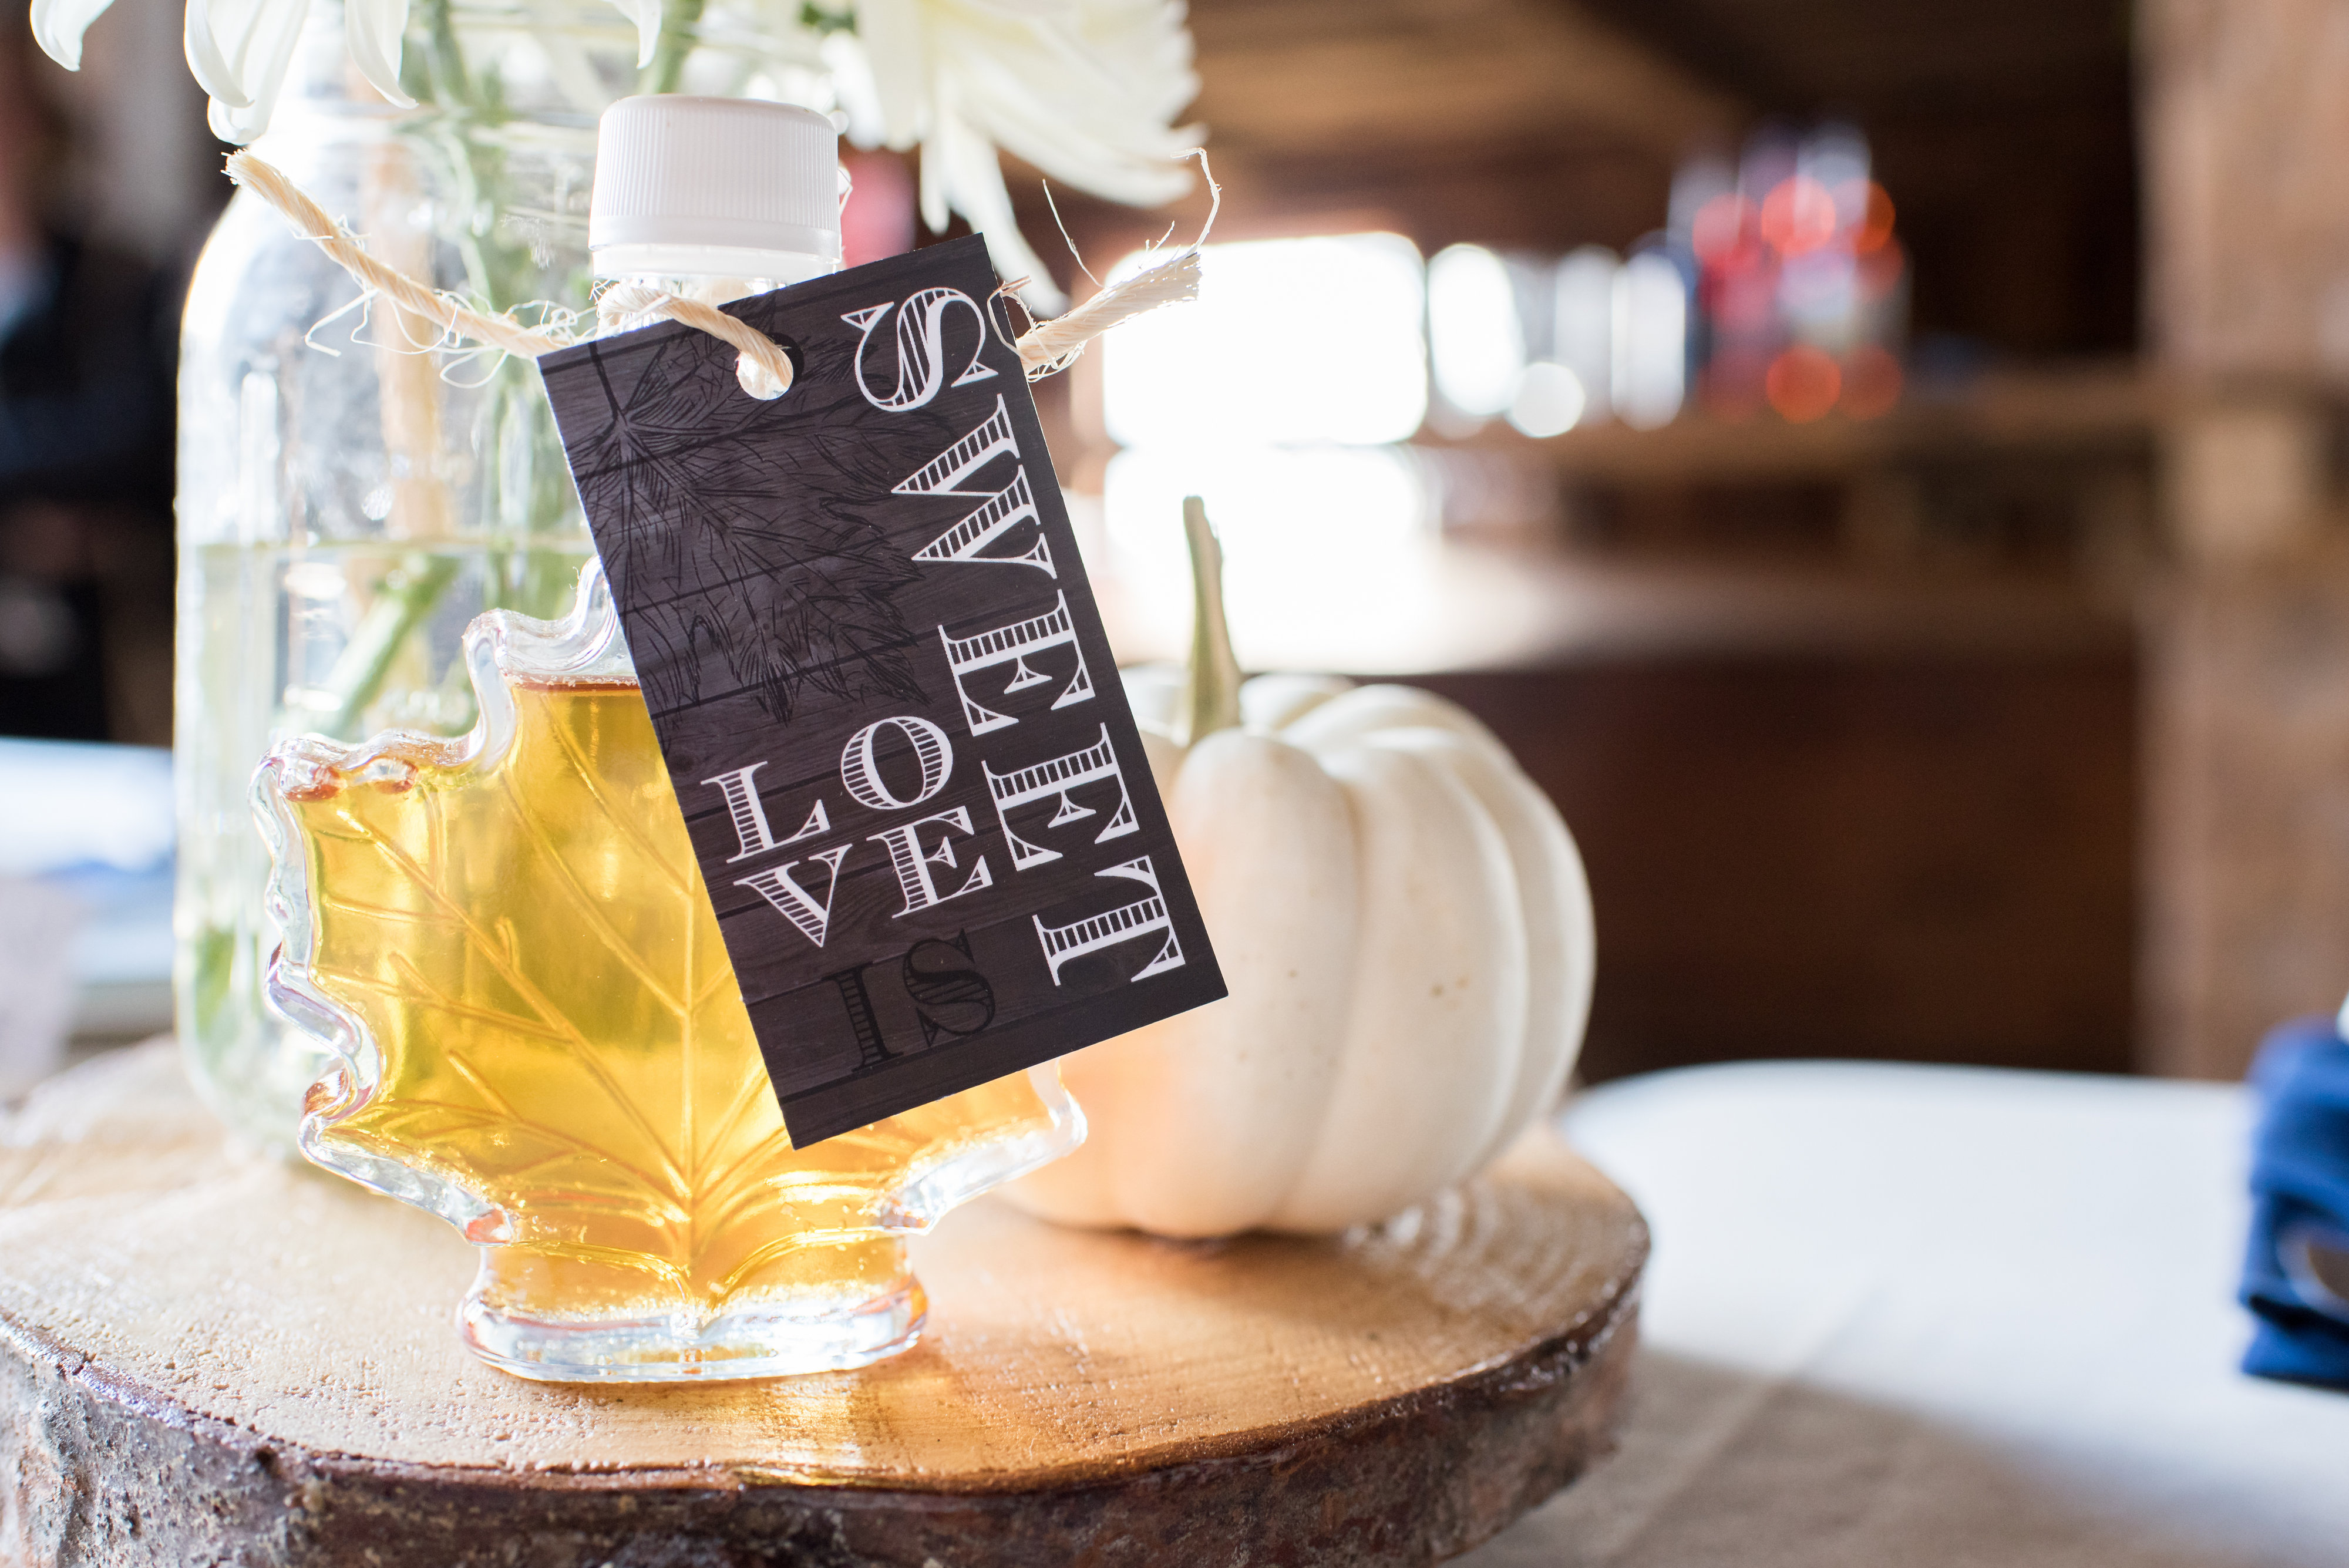
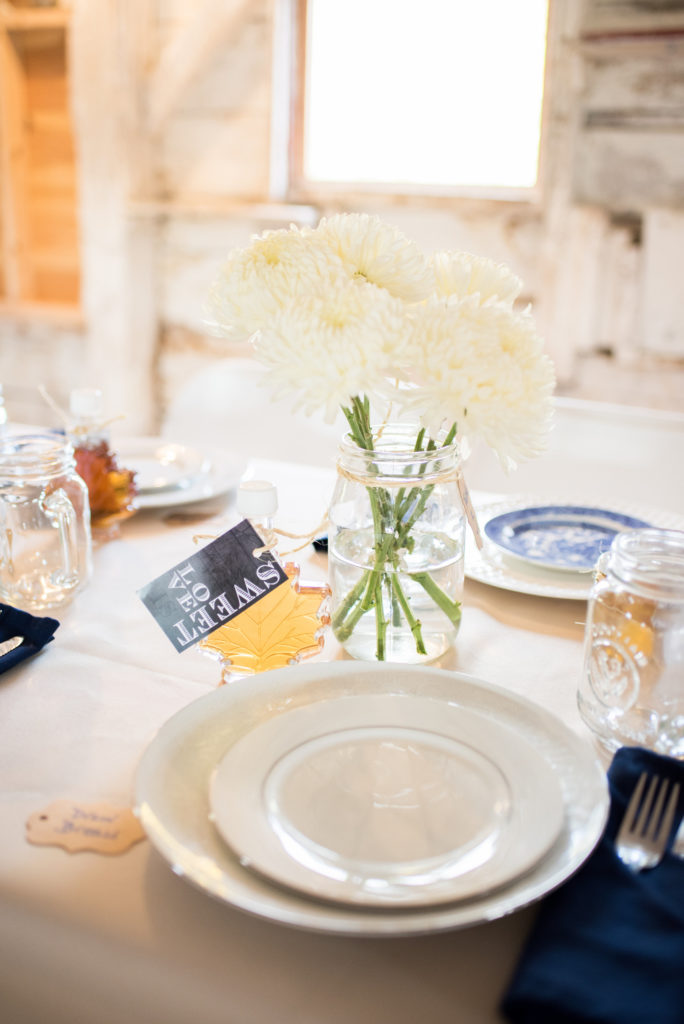
We first learned how to make maple syrup the year we were married, which worked out well as we were able to include our own maple syrup as one of our favors at our wedding. We loved sharing something we had made ourselves from sap we collected on our own property from our trees.
Custom gift tags: http://mandhsigns.com
If you have been considering Bonaventura Vineyards as your wedding or event venue location. We do still have availability for 2019 and are actively booking for 2020, contact us today for a tour! http://bonaventuravineyards.com/?page_id=128.
As always, thank you for your interest in Bonaventura Vineyards!
Jen Bonaventura
-
-
-
-
/ 0 Comments